Another fruit hat!! I have a bunch of different fruit hats that I freehanded and I'm working on writing up the patterns now! Here's the first of more to come (soon, hopefully...)
These are also of course available as PDFs in my Ravelry store (and soon to be added to Etsy too!) for a small fee--you can also check my Etsy to see if I have any finished products for sale right now.
Thanks for reading and have a great day :-)
Banana Hat
Pattern © Starwort Fool/Aster Rogers, 2021

MATERIALS
Hook: 6.0 mm/G hook
Yarn: Aran or Worsted weight yarn of your choice, 1 skein each of yellow and brown (I use Caron One Pound yarn)
Yarn needle
Stitch marker
Scissors
Abbreviations: (US terms)
FO - fasten off
st - stitch
sl st - slip stitch
sc - single crochet
hdc - half double crochet
dc - double crochet
MC - magic circle
INC - increase (2 st in same stitch)
DEC - decrease
Notes:
The pattern is written for a small to average size adult head, but if you need to make the hat bigger or smaller, you can increase/decrease the number of increasing rows (or try substituting hdc or sc for dc in the pattern--you will need to 1.5x/double the rows to reach same length/proportions but you have more control over the exact size of the hat)
Ch 3 at beginning of rounds counts as first dc. If using hdc, ch 2 at the beginning of the round which counts as the first hdc. If you use sc, ch 1 and make your first st into the same st as joining (ch 1 won’t count as first st)
BANANA HAT
With brown, make a MC and ch 3 OR ch 4 & work the first row into the first ch of your ch 4. (remaining 3 ch count as first dc)
Round 1 Work 11 dc into MC, join to top of ch 3 (counts as first dc) (12)
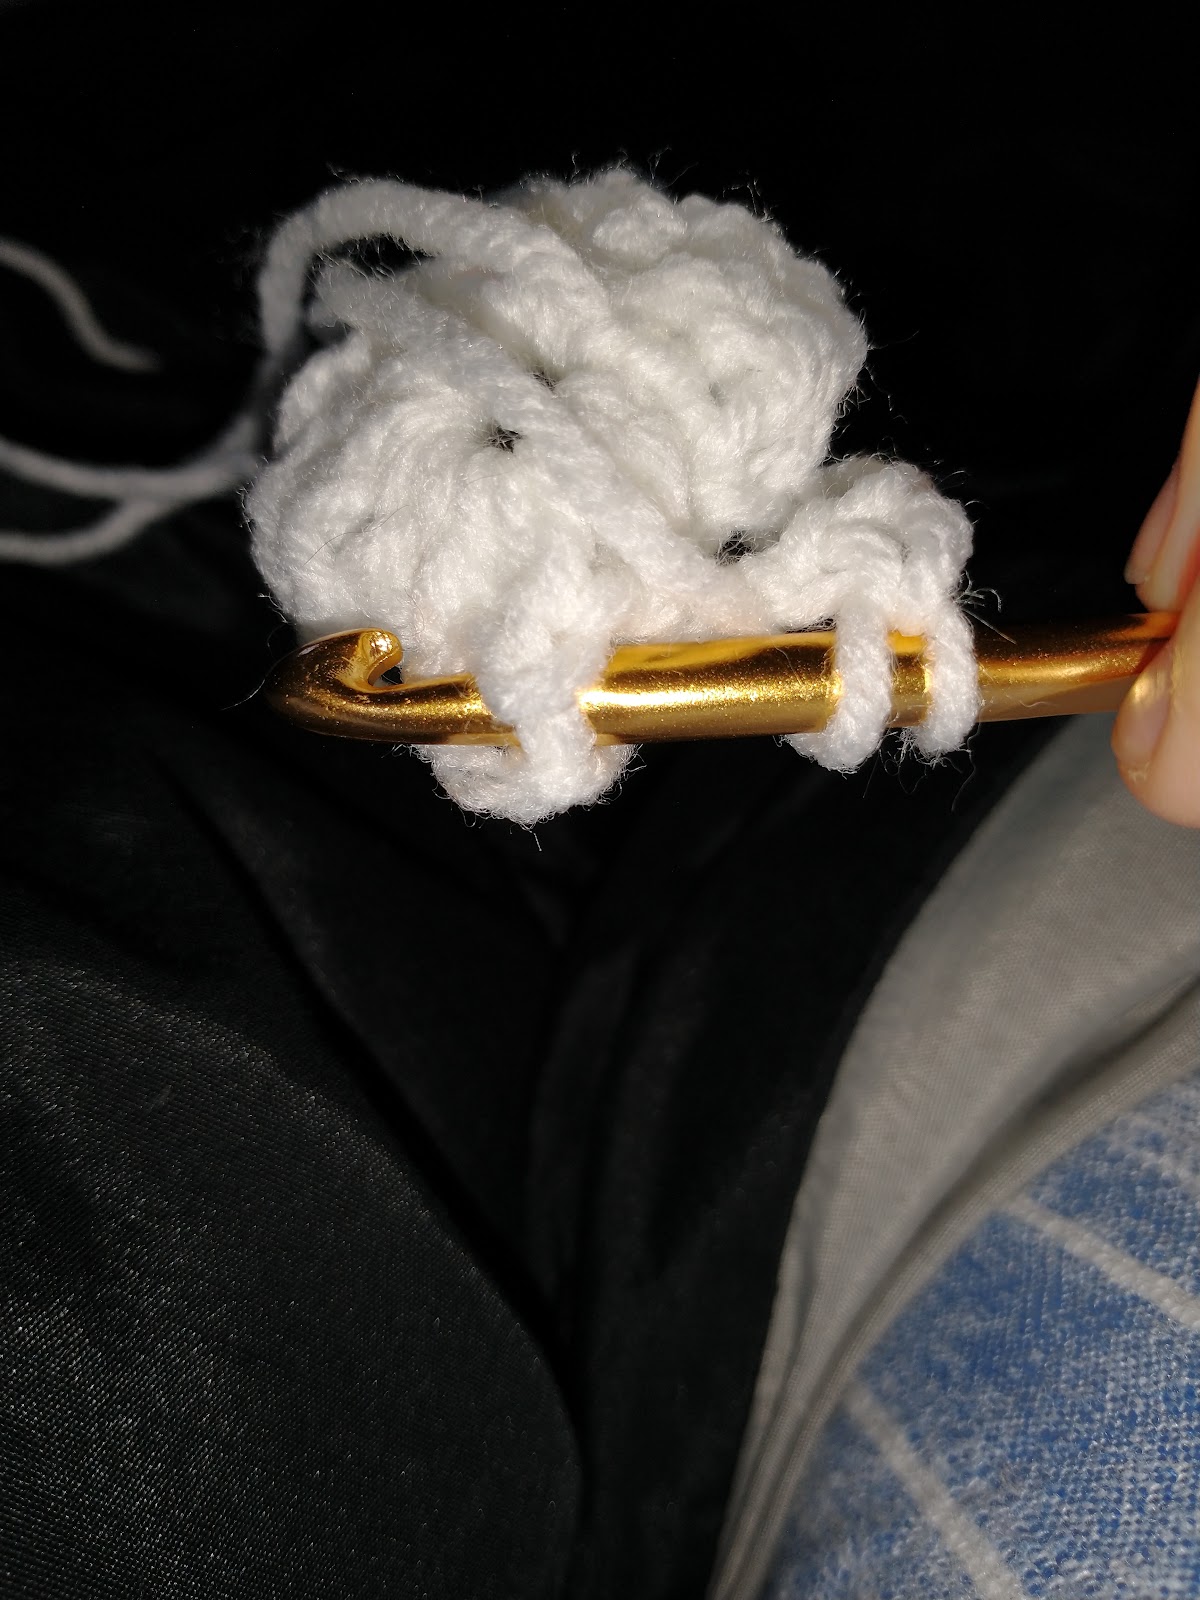
R2 Ch 3, turn your work so you are working around the top of the chains (this is hard to explain. See the pictures at the end of the pattern.) dc into each st around and join to ch 3. (12)
R3 Ch 3 (do not turn), dc into each st around and join to ch 3. FO and weave in ends. (12)
R4 Join with yellow to any dc of the previous round, ch 3, dc in each st around and join to ch 3. (12)
R5 Ch 3, dc in each st around, join to ch 3. (12)
R6 Ch 3, dc in same st as joining (counts as first INC), 2 dc in each st around, join to ch 3. (24)
R7 Ch 3, dc in same st as joining, 1 dc in next st, *2 dc (INC) in next st, 1 dc* repeat around. ending with 1 dc in last st. Join to ch 3. (36)
R8 Ch 3, dc in same st as joining, 1 dc in next 2 st, *INC, 1 dc in next 2 st* repeat around, join to ch 3. (48)
R9 Ch 3, dc in same st as joining, 1 dc in next 3 st, *INC, 1 dc in next 3 st* repeat around, join to ch 3. (60)
R10-17 (or as many rows to reach desired length including folding brim), Ch 3, dc in each st around, join to ch 3. (6)
Ear flaps/peel after reaching desired length, ch 3 (counts as first dc) and dc in next 11 st. (12)
R2 Ch 2 and turn, dc into next st (counts as first DEC), dc in next 8 st, DEC over last 2 st. (10)
R3 Ch 2 and turn, dc into next st, dc in next 6 st, DEC over last 2 st. (8)
R4 Ch 2 and turn, dc into next st, dc in next 4 st, DEC over last 2 st. (6)
R5 Ch 2 and turn, dc into next st, dc in next 2 st, DEC over last 2 st. (4)
R6 Ch 2 and turn, dc into next st, DEC over last 2 st. (2)
R7 Ch 2 and turn, dc into next st. FO and weave in ends.
Repeat for the second ear flap. They should be almost equal distance from each other, with a little more room in the front of the hat for the face.
Sc down the sides of the ear flaps and sl st along the brim of the hat. FO and weave in ends.
Optional If you want strings for tying the ear flaps under the chin, join to the tip of each ear flap, ch 35-40 (or desired length) and sl st in the back loop of each ch until you arrive back at the ear flap/beginning of the ch. Join to flap, fasten off and weave in ends.
And now you have a banana hat! If you post pictures anywhere please tag me/send them to me, I would love to see them! :-)
Please do not redistribute, publish, or sell this pattern or claim it as your own. You may post pictures of or sell items you have made using this pattern, but please link back to my Etsy shop, Instagram, or Ravelry profile on the tag/post/online listing of the product.
Pictures of R2:


Comments
Post a Comment